Introduction
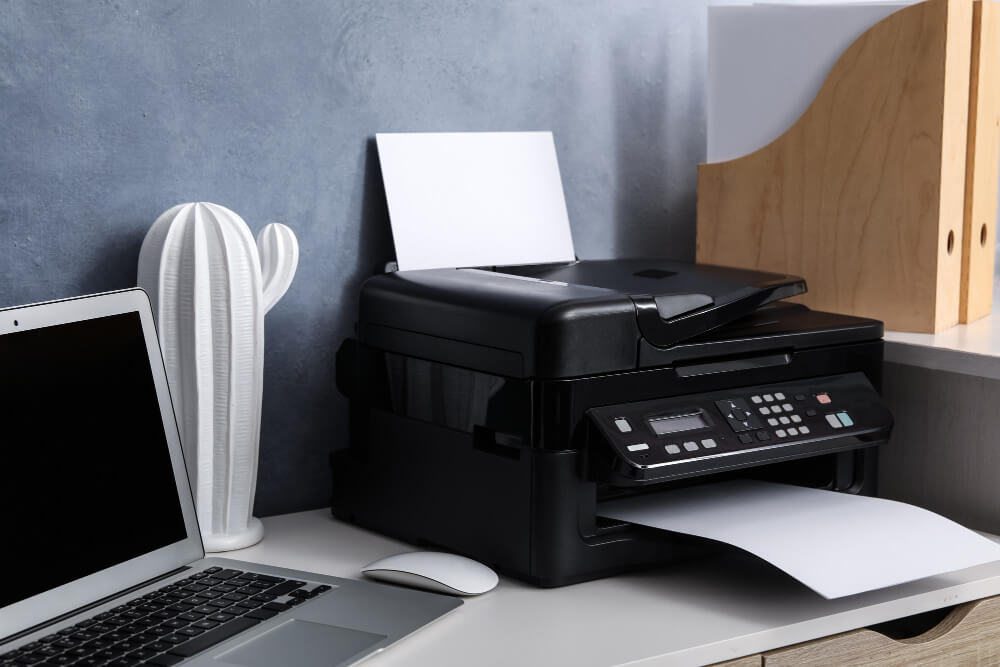
The HP ENVY 6455e is a versatile all-in-one wireless printer designed for home and office use. It supports printing, scanning, and copying and offers wireless connectivity to print from multiple devices. Setting up the HP ENVY 6455e correctly ensures seamless operation, whether you are printing from a Windows PC, Mac, smartphone, or tablet.
This guide provides a detailed, step-by-step process for hp envy 6455e setup for the first time, including unboxing, hardware installation, wireless connection, and driver installation.
Step 1: Unboxing the HP ENVY 6455e Printer
Before setting up the printer, it is important to unbox and inspect all included accessories.
Unboxing the Printer
- Remove the printer from the box and place it on a flat surface.
- Remove all protective tapes, stickers, and packaging materials from the printer.
- Open the scanner lid and remove any packing materials inside.
- Check that all the accessories are included in the box.
Included Accessories
The HP ENVY 6455e printer box typically contains:
- HP ENVY 6455e Printer
- HP 67 Black and Tri-Color Ink Cartridges
- Power Cord
- User Guide and Setup Instructions
Ensure that all components are present before proceeding with the setup.’
Read More: 123hp.com/setup
Step 2: Connecting the Printer to Power
Once the printer is unboxed, it needs to be connected to a power source.
- Plug one end of the power cord into the back of the printer.
- Connect the other end to a wall outlet.
- Press the Power button on the printer to turn it on.
- Wait for the printer to initialize and stop making noise before proceeding.
Step 3: Installing Ink Cartridges
The next step in the setup process is installing the ink cartridges.
- Open the ink cartridge access door (located at the front of the printer).
- Wait until the carriage moves to the center.
- Remove the new ink cartridges from their packaging.
- Peel off the protective plastic tape from the cartridge contacts (avoid touching the ink nozzles).
- Insert the Black ink cartridge into the right slot and push it in until it clicks.
- Insert the Tri-Color ink cartridge into the left slot and push it in until it clicks.
- Close the ink cartridge access door.
Once the ink cartridges are installed, the printer may perform a brief initialization process.
Step 4: Loading Paper into the Printer
After installing ink cartridges, load paper into the printer’s paper tray.
- Pull out the input tray located at the bottom of the printer.
- Adjust the paper width guides to fit the size of the paper.
- Place a stack of plain white paper into the tray, with the print side facing down.
- Push the paper tray back into the printer.
The printer is now ready to perform a test print after completing the setup.
Step 5: Connecting HP ENVY 6455e to WiFi
One of the main features of the HP ENVY 6455e is its wireless connectivity. To print from your computer, laptop, or mobile device, the printer must be connected to a WiFi network.
Using HP Smart App (Recommended)
The HP Smart App is the easiest way to set up WiFi on the HP ENVY 6455e.
- Download and install the HP Smart App on your computer or mobile device:
- Windows/Mac: Download from the HP website.
- Android/iOS: Download from the Google Play Store or Apple App Store.
- Turn on the printer and make sure the WiFi light is blinking.
- If not blinking, press and hold the WiFi button (🛜) and Cancel button (X) together for 5 seconds to enable WiFi setup mode.
- Open the HP Smart App and click Set Up a New Printer.
- The app will detect the HP ENVY 6455e in setup mode.
- Select your WiFi network and enter the WiFi password.
- Click Connect, and wait for the WiFi light to turn solid blue, indicating a successful connection.
Step 6: Installing Printer Drivers and Software
To use the HP ENVY 6455e with a Windows or Mac computer, you must install the necessary drivers and software.
For Windows Users
- Download the latest HP ENVY 6455e drivers from the HP support website.
- Open the downloaded file and follow the on-screen instructions.
- When prompted, select Wireless Connection and follow the instructions to connect the printer.
- Once installation is complete, print a test page to confirm the setup.
For Mac Users
- Go to System Preferences > Printers & Scanners.
- Click the + (Add Printer) button and select the HP ENVY 6455e from the list.
- If prompted, install the necessary drivers from the HP website.
- After installation, print a test page to confirm connectivity.
Step 7: Setting Up Mobile Printing
The HP ENVY 6455e supports mobile printing, allowing users to print directly from their smartphones or tablets.
Using HP Smart App
- Open the HP Smart App on your mobile device.
- Select your HP ENVY 6455e printer.
- Tap Print and choose a document or photo.
- Adjust the print settings and tap Print.
Using Apple AirPrint (iOS Devices)
- Open the document or photo on your iPhone/iPad.
- Tap the Share icon and select Print.
- Choose the HP ENVY 6455e from the list of printers.
- Adjust the settings and tap Print.
Using Google Cloud Print (Android Devices)
- Open the document or photo on your Android device.
- Tap the Print option and select the HP ENVY 6455e printer.
- Adjust the settings and tap Print.
Step 8: Performing a Test Print
To verify that the printer is working correctly, perform a test print.
- Open a document or image.
- Click Print and select the HP ENVY 6455e.
- Adjust the print settings (e.g., paper size, color, or grayscale).
- Click Print and wait for the printer to complete the job.
If the test print is successful, the printer is fully set up and ready to use.
Conclusion
Setting up the HP ENVY 6455e involves unboxing the printer, installing ink cartridges, loading paper, connecting to WiFi, installing drivers, and setting up mobile printing. By following these step-by-step instructions, you can ensure a smooth and hassle-free setup process.
Once connected, the HP ENVY 6455e offers wireless printing, scanning, and copying for home and office needs. Enjoy seamless printing from your computer, smartphone, or tablet with this efficient and reliable printer.